I have an exciting new Kitchen Tip for you. You might already know about my affinity for buttermilk. I use it regularly and often. Here’s a comprehensive list of my recipes that feature buttermilk:
English Muffin Bread with Honey Butter
Apple Gingerbread Upside Down Cake
Chocolate Pumpkin Whoopie Pies
Buttermilk adds something magical to many recipes – sometimes it’s tanginess, other times it’s fluffiness, still other times it’s tenderness and moisture. It is an amazing ingredient. If you shy away from buttermilk because of the texture, the name, the taste, or the smell, don’t. Buttermilk rocks.
And, on top of all its benefits, it’s remarkably simple to culture at home, saving yourself money and a last-minute trip to the store every time a recipe calls for it. Once you have a batch, you can use it to re-culture every other batch after that and you’ll always have it on hand. If you don’t use buttermilk as often as I do, this recipe is easily adjusted to make much smaller batches.
Cultured Buttermilk in a Mason Jar
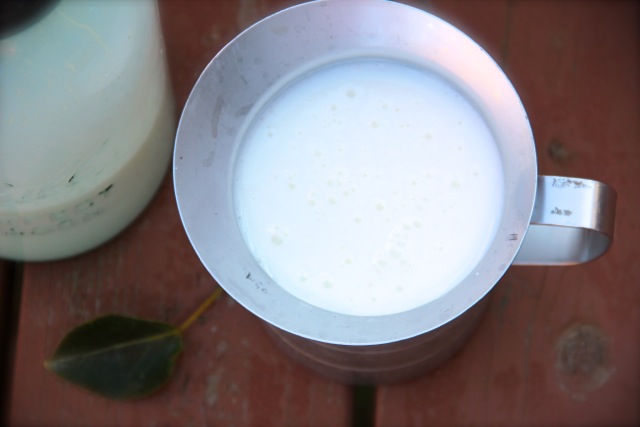
Adapted from [Foodie With Family|http://www.foodiewithfamily.com/2010/03/24/homemade-cultured-buttermilk/]
Yields: 1/2 gallon buttermilk
- 8c 1% milk (1/2 gallon)
- 1/2c store-bought cultured buttermilk
- 1 half-gallon Mason jar with tightly fitting lid
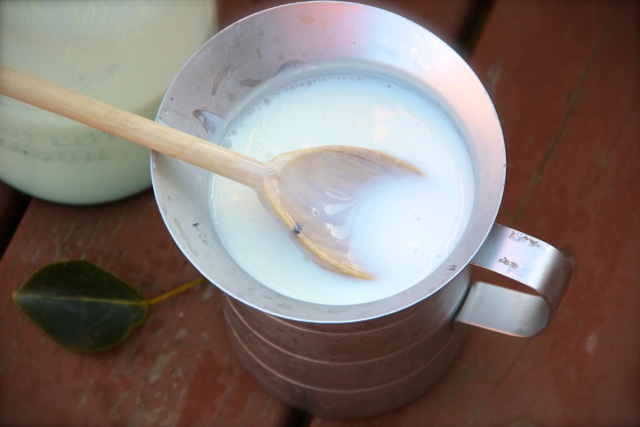
Into your clean half-gallon Mason jar, pour your buttermilk. Then, pour the 1% milk over top. Seal jar with lid and shake vigorously for one minute.
Place jar on kitchen counter out of direct sunlight for 12-24 hours until thickened. When thickened, refrigerate. Your buttermilk is ready. Use within two weeks, reserving the last 1/2c to re-culture another batch. And another. And another.
